Monday, January 13, 2014

Pepperoni, Zucchini and Gorgonzola Pizza

Have you ever cooked with gorgonzola cheese? Using it on this pizza was my inaugural use of this delicacy. Calling it's flavor "sharp" would be a euphemism. "Pungent" may in fact be more accurate. I would say that you should know that you like it before you start using it. Or at the very least, use it sparingly.
Now I'm not trying to cyber-bully a particular cheese here. I'm not saying it was bad - far from it really. I very much liked the za I created with it. The other ingredients were particularly appetizing, however, because of the amount of gorgonzola I used, their flavors were more masked than I would have cared for. I would easily use gorgonzola in cooking again, but I would be more conservative with it in the future.

If you really think or know you're going to hate it and refuse to read further if I mention the word "gorgonzola" again, then by all means, omit it. You could use feta or goat cheese in its place, or you could even go with a sprinkling of parmesan if that's more your style.

Regardless, I will share with you the pizza making process for this delightful meal.

Ingredients needed:
  • Pizza dough or prepared crust
  • 1-2 cups pizza sauce
  • 2 small zucchinis
  • 10 thinly-sliced deli pepperonis
  • 1/4 cup gorgonzola cheese (more or less, to taste)
  • 2 teaspoons black pepper
  • About 1 cup shredded mozzarella cheese

So, the preparation begins.
  • Place a pizza stone into a cold oven, then crank the oven to 500. 
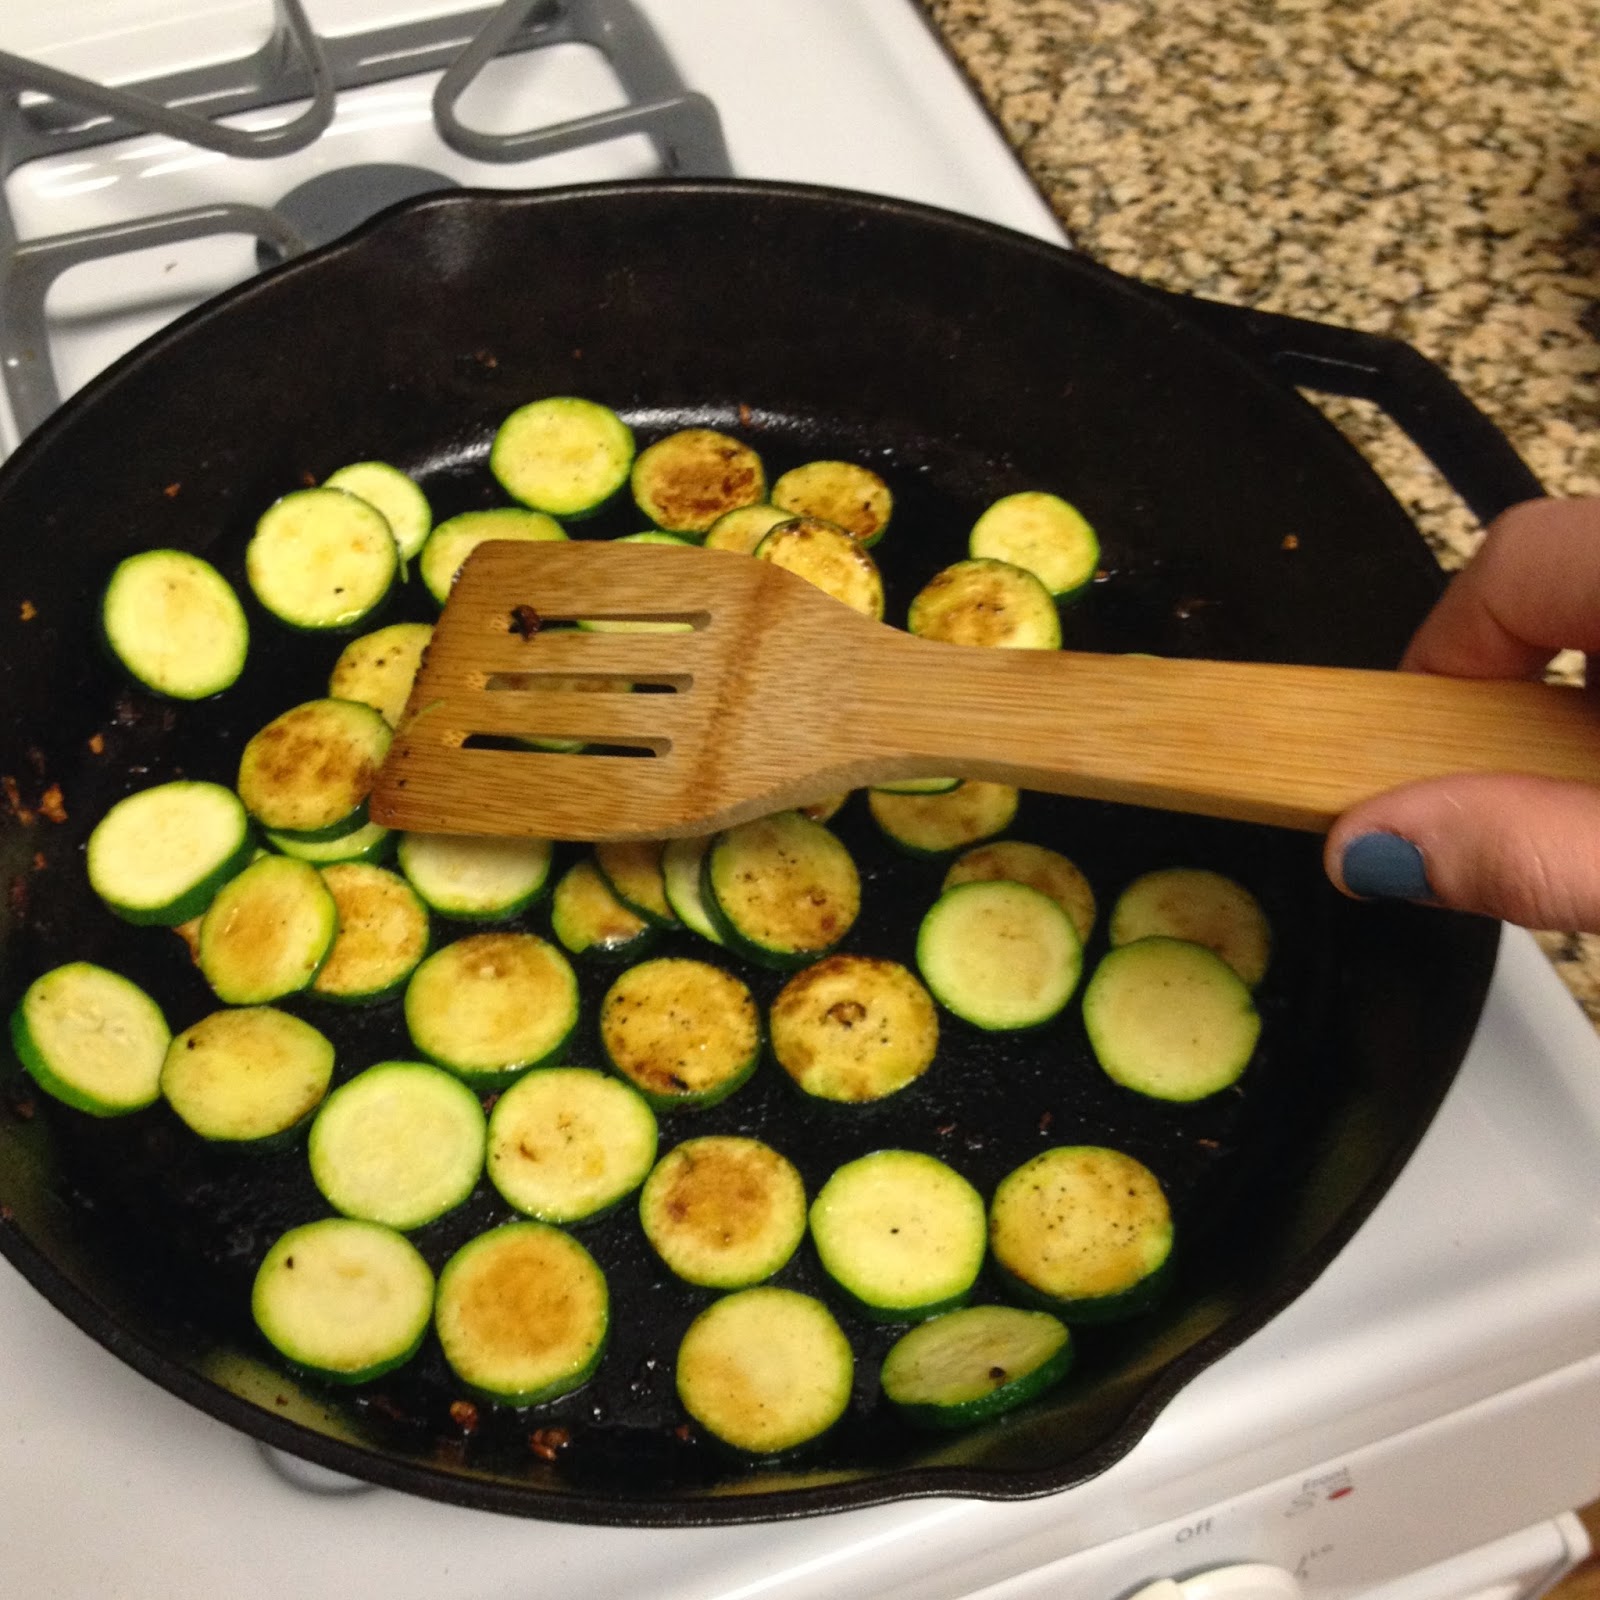
  • Heat a skillet on the stovetop over medium-high heat with a tablespoon or so of olive oil. Get your zucchinis cleaned. Slice them into "coins." Toss them into the heated skillet and sauté them until they are golden-brown on each side. 
Cleaned.

Coined.

Sautéed. 
  • While the zucchini is browning, prepare your pepperonis. The ones I got at the deli counter were rather large (perhaps 3 inches in diameter), so I cut them into quarters to make them more bite-sized. These things should be fully-cooked when you buy them, and I couldn't help myself from taking a little sample of a bite of one before I assembled the za. Oh my. Yum. It was definitely a good choice to go with the deli pepperoni rather than ones that come pre-packaged from elsewhere in the grocery store. And since I only bought 10 thin slices, this was actually the more money-saving option as well.
  • Once the pizza stone is thoroughly heated, remove it from the oven. Place your prepared pizza dough or crust on it and spread as much pizza sauce on top of that as you'd like. 
  • Next, pile on all those tasty ingredients that you just prepared. Start with the zucchinis, evenly spacing them all around. Pepperonis go all over next, then sprinkle on your gorgonzola, black pepper, and finally, mozzarella. If you're a true gorgonzola fanatic, you may like to sprinkle some more on the very top of the za. But I'll leave that up to you.
  • Pop the stone with all that delightfulness on top back into the oven and keep it in there until everything is hot, melty, and the cheese is slightly golden on top. This time it only took my za about 8 minutes to cook, but typically I expect to wait around 10 minutes for a completed pizza. 
See? Beautifully golden and melty in all of 8 minutes. Careful though. This thing is hella hot. Seeing how the crust is even a bit burned on the front edge tells me that I could have taken it out of the oven even sooner. But it was still delish, and that one little burt section of crust didn't take away from the delightful toppings at all. Or maybe it was my husband that ate the slice from that side. Hm. Either way, no trouble here at all!
Lastly, I did a wee little change-up for the crust of this za. I did everything as usual when I make my normal crust, but instead of using warm water I used warm beer. This was not the same as another crust I did involving beer (a personal favorite of mine right there), but it was still delicious - crispy and classic yet it had a slightly deeper and more complex flavor.

Any beer will do (I used Coors Light); just try not to be too repulsed after warming it up in the microwave, adding honey and yeast to it, and waiting for it to froth up. It's all part of a much bigger and more important process. And an added bonus - you only use 3/4 cup of beer, so you'll have a few swigs left over to enjoy while you prepare the rest of the recipe. You are welcome.

Thursday, January 9, 2014

Equipment-Free Workout

For two reasons, I am so very excited to share my recent workout.

First, it was a wonderfully refreshing and invigorating workout. Lately I've been doing mostly running as well as 25 push-ups and 50 crunches per day. Good workouts, sure, but those can become mundane after a short while.

Second, getting in a workout like this is a good reminder that I am well on the up-side of recovery from the winter crud…at least 95% better, in my opinion. Just a little sniffle here and a few coughs there, but nothing to run to the doctor about.

I was inspired by a workout I found from Women's Health. Actually, I confess, it's been probably a year since I first discovered the workout, bookmarked it, then put it off indefinitely.

There are just 4 moves involved in this workout, and I incorporated some running for more of a cardio boost. The following images show a good example of how each move is done, but for a more detailed explanation, head to the actual link from Women's Health.

Move 1: Squat and kick

Move 2: Jumping lunge


Move 3: Push-ups

Move 4: Mountain climber


Women's Health explains that you can do a workout with these moves according to the following instructions: Do the first move for 30 seconds, then do the second one for 30 seconds. Rest one minute; repeat three more times. Perform the third and fourth moves in this same pattern. Push yourself to do more reps during each successive workout.

Now that is a good workout and all, and if you're crunched for time it's definitely going to serve you well.

Here's how I did it though:
  • Warm-up: 5 minute jog at a medium pace
    1. Move 1: 20 seconds, 10 seconds rest
    2. Move 2: 20 seconds, 10 seconds rest
    3. Move 3: 20 seconds, 10 seconds rest
    4. Move 4: 20 seconds, 10 seconds rest
    5. Run 800m (2 laps) on a 400m track at about 8 min/mile pace
  • Repeat (1 through 5) 4 times
  • Cool-down: Walk 2-3 minutes, then jog slow for about 5 minutes; stretch and hydrate

Friday, January 3, 2014

Creamy Spinach and Artichoke Pizza

Happy New Year! I'm glad to say that the first pizza of 2014 is one I can brag about.
I've been rather down with the sickness since Christmas. Apparently spending the holidays among droves of children can lead one to contract an illness rather easily. So after plenty of bed rest, gallons of chicken noodle soup, and just enough Tylenol and Robitussin to give me a good night's sleep, I'm more or less back on my feet and doing things around the house (but not ready to do things around the gym just yet).

All this sickness has deprived me of my usual appetite for the past week or so, and now that it's coming back, I decided I wanted something good and hearty. Something that sticks to the ribs. Some sort of comfort food. Yes, pizza is all of those, usually; but I really wanted it to be rich this time. And that's when I thought of spinach artichoke dip. It ranks high among my guilty pleasures, even when I make a "healthier" version of it (because let's be honest, you can only be so healthy with a cream-cheese based meal).

And alas, I developed the Creamy Spinach and Artichoke pizza. Basically, it's topped with what you'd find in a spinach-artichoke dip, but it sits deliciously atop a round of fresh dough and pizza sauce, topped with shredded, melty mozzarella.

For this culinary delight, you will need:
  • 1-2 cups pizza sauce
  • 1/2 medium onion, diced
  • 1/2 8-oz package of cream cheese
  • 1-2 Tablespoons half and half
  • 2 cups fresh spinach leaves, chopped
  • 1-2 Tablespoons garlic powder
  • 1-2 teaspoons black pepper
  • 1-2 cups shredded mozzarella cheese
  • 1 6-oz jar marinated artichoke hearts, sliced
Of course I used the cream cheese with a wee bit less fat (so I can feel a wee bit less guilty about eating it). If you'd like to use heavy whipping cream in place of the half and half, that would work too. (Half and half was just a little cheaper at the grocery store for me this time around). It's a good idea to leave these ingredients on the counter for a little while so that they reach room temperature before you begin cooking. Stuff just turns out better (usually) if it's near the same temperature before you begin.
Now grab your fancy apron, and get started.

First things first: your oven and your pizza stone. Turn that machine to 500 degrees with the stone inside. Make it all nice and hot.

Next, heat a skillet over medium heat with a small bit of oil on it. Dice your onion, and toss the pieces into the skillet, stirring until slightly browned. Remove from the skillet and allow to cool slightly. 

Chop the spinach and set it aside. 

In the bowl of a mixer, place the cream cheese, half and half, garlic powder, and black pepper. Mix it on up until it's well combined. Add more half and half, slowly, if you prefer a thinner consistency. 

Next, mix in the sautéed onion pieces, followed by the chopped spinach. It should just look like a big creamy, oniony mixture with spinach in it. Yum.
Mmm. Onions n stuff.
Next, slice up the artichoke hearts. The ones I buy are already chopped into pieces, but I prefer to make those a little thinner so they're easier to eat and I can spread more of them around the za.
Now given that your dough and sauce are ready, your pizza is ready to assemble.

Remove the pizza stone from the hot oven and place it on a stable, heat-proof work surface. Hot pads on the counter serve me just fine. Place the prepared dough on that and spread as much pizza sauce as you care for on top of your dough.

Next is the creamy, oniony, spinachy mixture. Using a teaspoon, scoop up spoonfuls of the stuff and drop them evenly around the pizza in little globs. It's okay if there are spots that you missed or if the globs aren't quite equal in size. That will all even out when it goes back in the oven. Once you've used all the creamy mixture, sprinkle shredded mozzarella all around on top of that. Finally, place the sliced artichoke hearts on top. If you'd like a little more mozzarella (or noticed that you missed a spot), now is the time for touch-ups with that cheese.

Now pop the whole thing back in the oven and set the timer for 10 minutes. You will be delighted at the results.
Delightful, no?
This za lends itself to many different flavors and options to "dress it up." You could add some red pepper flakes for some spice, parmesan cheese for more of a bite, or any other herbs and spices that you like. Cream cheese is rather plain and takes well to many sweet, savory, and spicy variations. I just kept it simple (partially because I didn't want to irritate my sore throat and sinuses any more, partially because I was lazy), but it was definitely the perfect meal with just enough of each flavor element to bring me out of the sickness and back into the pizza eating frame of mind.

Thursday, December 12, 2013

Your Opinion

Have you been consuming your weekly doses of pizza? Because I have not. It's been a long dry spell (about 6 weeks now!) and I'm beginning to have pizza withdrawals. 

I guess I can't say I've been 100% pizza free; there was one instance where the husband and I dropped into a pretty good smaller pizza chain in Las Vegas. Then another weekend spent drinking and carrying on with friends landed us in a fantastic little New York style pizza place in Hermosa Beach. And finally, I dabbled in a bit of the local Pizza Hut fare one delirious evening and instantly regretted it because that was by far one of the most disappointing pizza experiences I've had yet. 

I won't go on about those pizza endeavors, but I can say that I've missed making my own za in my own oven with my own pizza stone. The good news is that I will have all my pizza paraphernalia back in my possession by this weekend! My husband and I have been patiently waiting to move into our house and get our stuff out of storage (adios, living out of a suitcase!), and alas, the weekend has arrived during which we will be transitioning from temporary house to permanent home. And I will personally be transitioning from the pizza-withdrawl-shakes-syndrome to fat-kid-at-heart-gets-her-pizza-tools-back-and-dives-headfirst-into-mozzarella-and-dough-recovery. Praise the Lord! Sure, I'm looking forward to having a real address, decorating the house, and sleeping in my own bed again. But I must say, the weekly pizza binges are a thing that I value highly in my life, and now that I've started, I simply see no end to the tradition.

So, pizza eater. The wait has been long. But it is almost over. You've demanded pizza and I intend to provide it. So set aside a calorie allowance for some choice za, and stay tuned.
Isn't that just one witty little t-shirt? It brings a smile to my face. I found it on Jac Vanek but have no intentions of buying it. ($44 for a spool of cotton and some iron-on letters? Puh-lease. I could craft that up in 20 minutes for less than $5.) But hey, that's just my opinion.