Now I'm not trying to cyber-bully a particular cheese here. I'm not saying it was bad - far from it really. I very much liked the za I created with it. The other ingredients were particularly appetizing, however, because of the amount of gorgonzola I used, their flavors were more masked than I would have cared for. I would easily use gorgonzola in cooking again, but I would be more conservative with it in the future.
If you really think or know you're going to hate it and refuse to read further if I mention the word "gorgonzola" again, then by all means, omit it. You could use feta or goat cheese in its place, or you could even go with a sprinkling of parmesan if that's more your style.
Regardless, I will share with you the pizza making process for this delightful meal.
Ingredients needed:
- Pizza dough or prepared crust
- 1-2 cups pizza sauce
- 2 small zucchinis
- 10 thinly-sliced deli pepperonis
- 1/4 cup gorgonzola cheese (more or less, to taste)
- 2 teaspoons black pepper
- About 1 cup shredded mozzarella cheese
So, the preparation begins.
- Place a pizza stone into a cold oven, then crank the oven to 500.
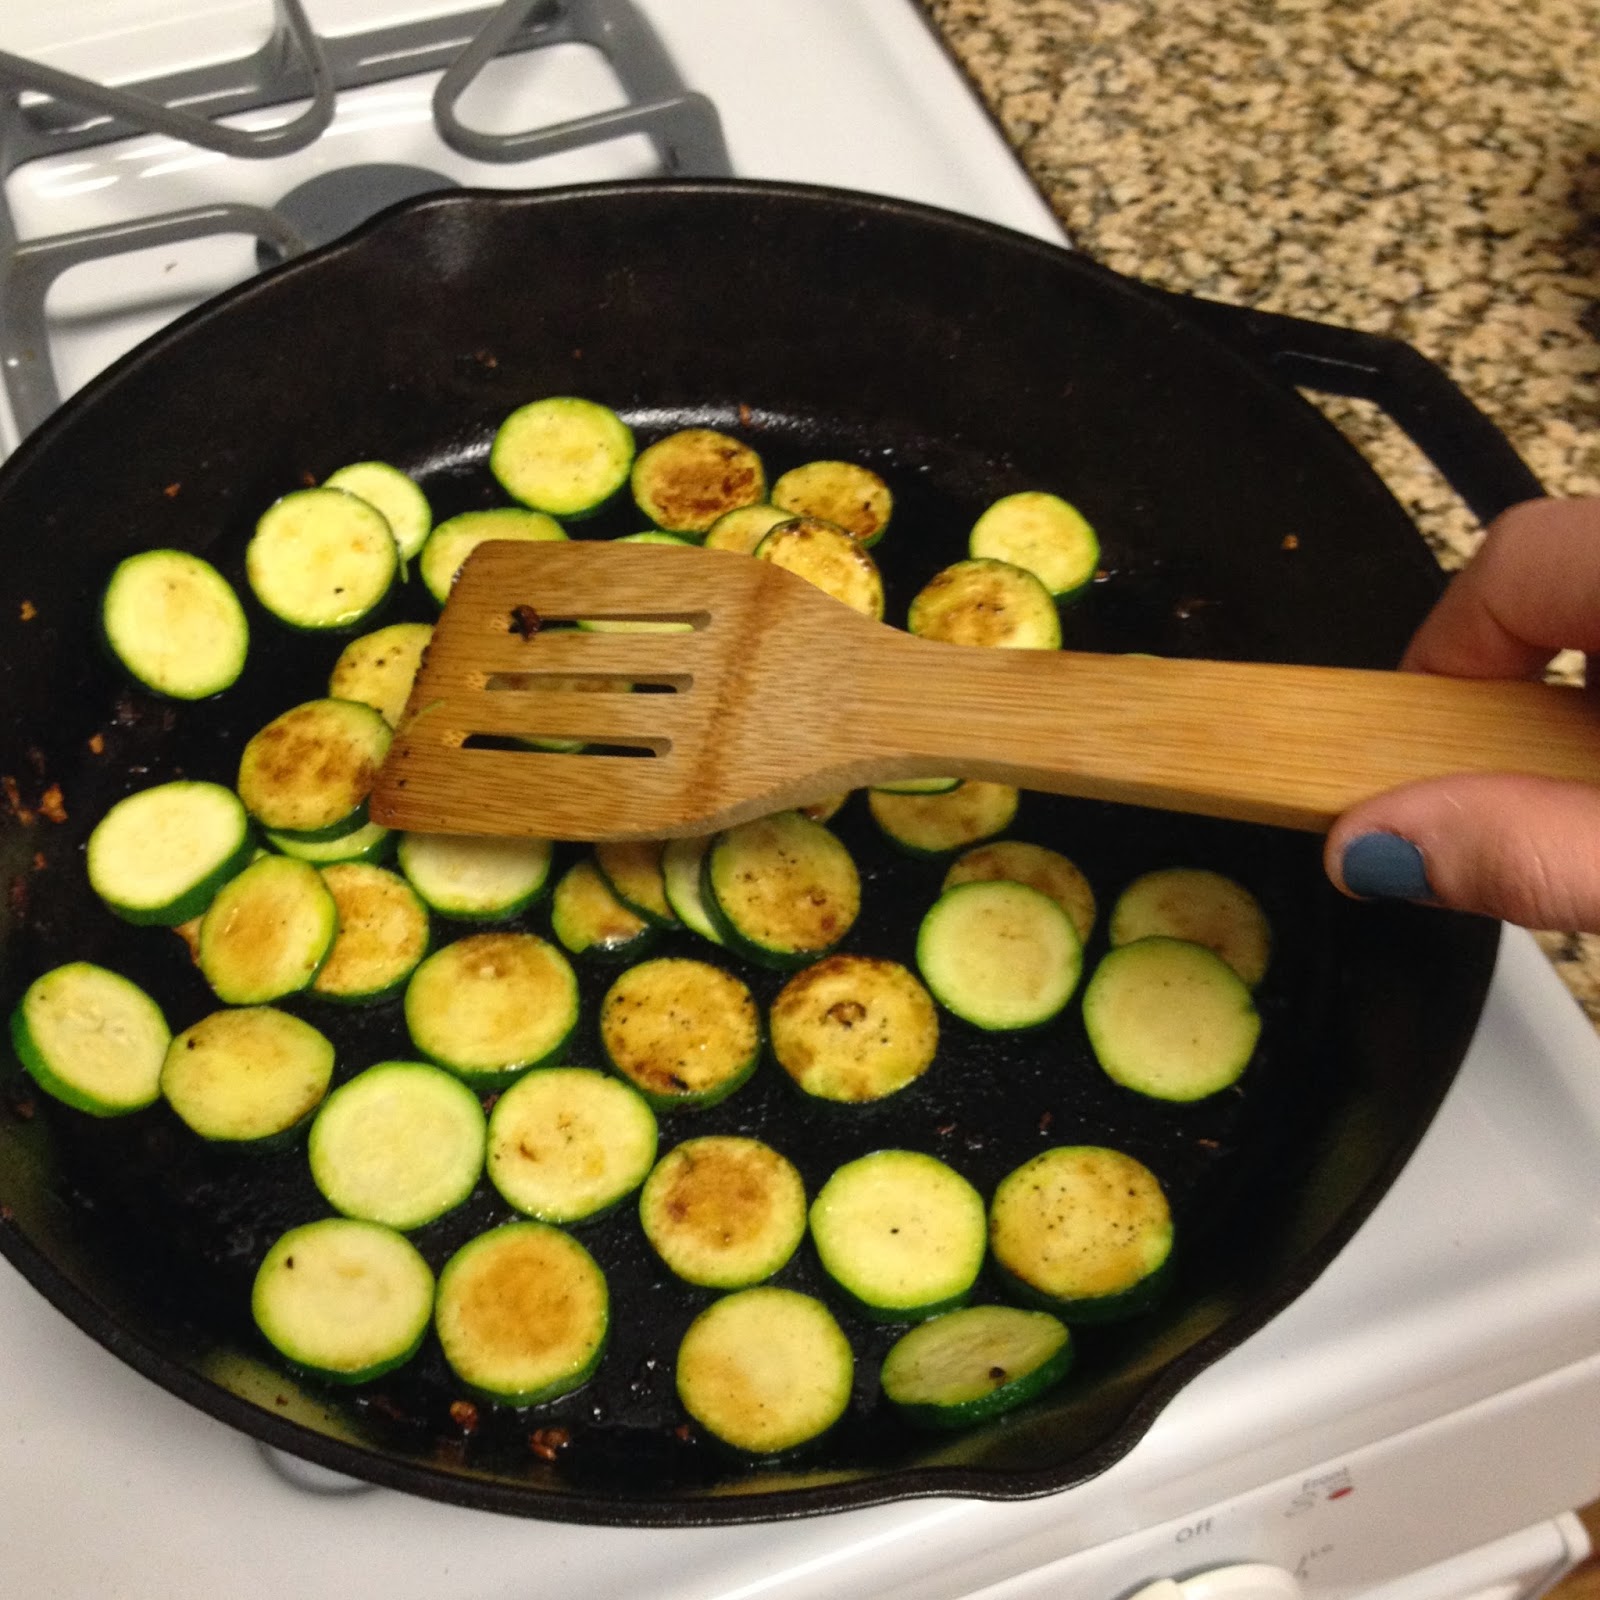
- Heat a skillet on the stovetop over medium-high heat with a tablespoon or so of olive oil. Get your zucchinis cleaned. Slice them into "coins." Toss them into the heated skillet and sauté them until they are golden-brown on each side.
 |
| Cleaned. |
 |
| Coined. |
 |
| Sautéed. |
- While the zucchini is browning, prepare your pepperonis. The ones I got at the deli counter were rather large (perhaps 3 inches in diameter), so I cut them into quarters to make them more bite-sized. These things should be fully-cooked when you buy them, and I couldn't help myself from taking a little sample of a bite of one before I assembled the za. Oh my. Yum. It was definitely a good choice to go with the deli pepperoni rather than ones that come pre-packaged from elsewhere in the grocery store. And since I only bought 10 thin slices, this was actually the more money-saving option as well.
- Once the pizza stone is thoroughly heated, remove it from the oven. Place your prepared pizza dough or crust on it and spread as much pizza sauce on top of that as you'd like.
- Next, pile on all those tasty ingredients that you just prepared. Start with the zucchinis, evenly spacing them all around. Pepperonis go all over next, then sprinkle on your gorgonzola, black pepper, and finally, mozzarella. If you're a true gorgonzola fanatic, you may like to sprinkle some more on the very top of the za. But I'll leave that up to you.
- Pop the stone with all that delightfulness on top back into the oven and keep it in there until everything is hot, melty, and the cheese is slightly golden on top. This time it only took my za about 8 minutes to cook, but typically I expect to wait around 10 minutes for a completed pizza.
Lastly, I did a wee little change-up for the crust of this za. I did everything as usual when I make my normal crust, but instead of using warm water I used warm beer. This was not the same as another crust I did involving beer (a personal favorite of mine right there), but it was still delicious - crispy and classic yet it had a slightly deeper and more complex flavor.
Any beer will do (I used Coors Light); just try not to be too repulsed after warming it up in the microwave, adding honey and yeast to it, and waiting for it to froth up. It's all part of a much bigger and more important process. And an added bonus - you only use 3/4 cup of beer, so you'll have a few swigs left over to enjoy while you prepare the rest of the recipe. You are welcome.


No comments:
Post a Comment