The inspiration for this pizza came from Pinterest (surprise, surprise) but then I one-upped it by using sun-dried tomato pesto instead of the regular green stuff. I also learned that roasted garlic is extremely easy to make and even more delicious to eat.


Another reason I was excited to make a za this particular weekend? I got a new rolling pin! I know that does not sound like such a thrilling thing for most people, but for all this time I have been making pizzas I have not owned a proper rolling pin. Even I find that a little bit odd. To roll out the dough I've been using a drinking glass turned on its side. That's actually worked quite well for me, but whenever my husband sees me using a glass to roll the dough, he worries that I will end up crushing it with my Hulk strength. So I guess we can say it's pretty lucky I found this one before that happened!


The brand is "Bisetti" although I've never heard of that before. Williams-Sonoma sells one rolling pin of that brand, but the one I got is all one solid piece, more like this. It was one of those random finds I spotted at TJ Maxx one day while I was looking for anything but a rolling pin. And instead of being in the $15-$50 range, it was $5.99!
Okay, enough of my hollering and raving about a rolling pin. On to the roasted garlic and the rest of the pizza.
Ingredients you'll need:
- 1 bulb of garlic
- 2 tbsp. olive oil
- 4-6 oz. sun-dried tomato pesto sauce
- 1-2 cups pizza sauce
- 1-2 chicken breasts, cooked and shredded (I seasoned mine a wee bit with some olive oil, salt, and pepper)
- 1 cup shredded mozzarella cheese
To make the roasted garlic:
Let me just say again...this is so very easy. I will definitely be making it again to put into things other than pizza.
- Preheat the oven to 400 degrees.
- Peel off most of the outer paper-y skin on the garlic (doesn't have to be all of it or too perfect looking).
- Using a sharp knife, slice off the top of the garlic, about 1/2 inch down.
- Drizzle with 2 tbsp. olive oil.
- Cover with aluminum foil and bake until soft, about 35-40 minutes.
- Let it cool completely when it's done, then use a fork to smash it up into a paste.


Yes, this is one of those "looks nasty, tastes yummy" kind of deals. Moving on...
To make the pizza:
 I think it's safe to say that the sun-dried tomato pesto was the noticeably tasty thing in this recipe, along with the roasted garlic. I actually only used about a half a bulb of garlic, and the pizza could have easily used more. I'll go for the whole bulb next time, no question about that. Also, the sun-dried tomato pesto that I used comes in an 8.5-oz jar, and I used about half of what was in that jar. Use more or less depending on how much you love pesto. So basically, use more. (Who doesn't love pesto?)
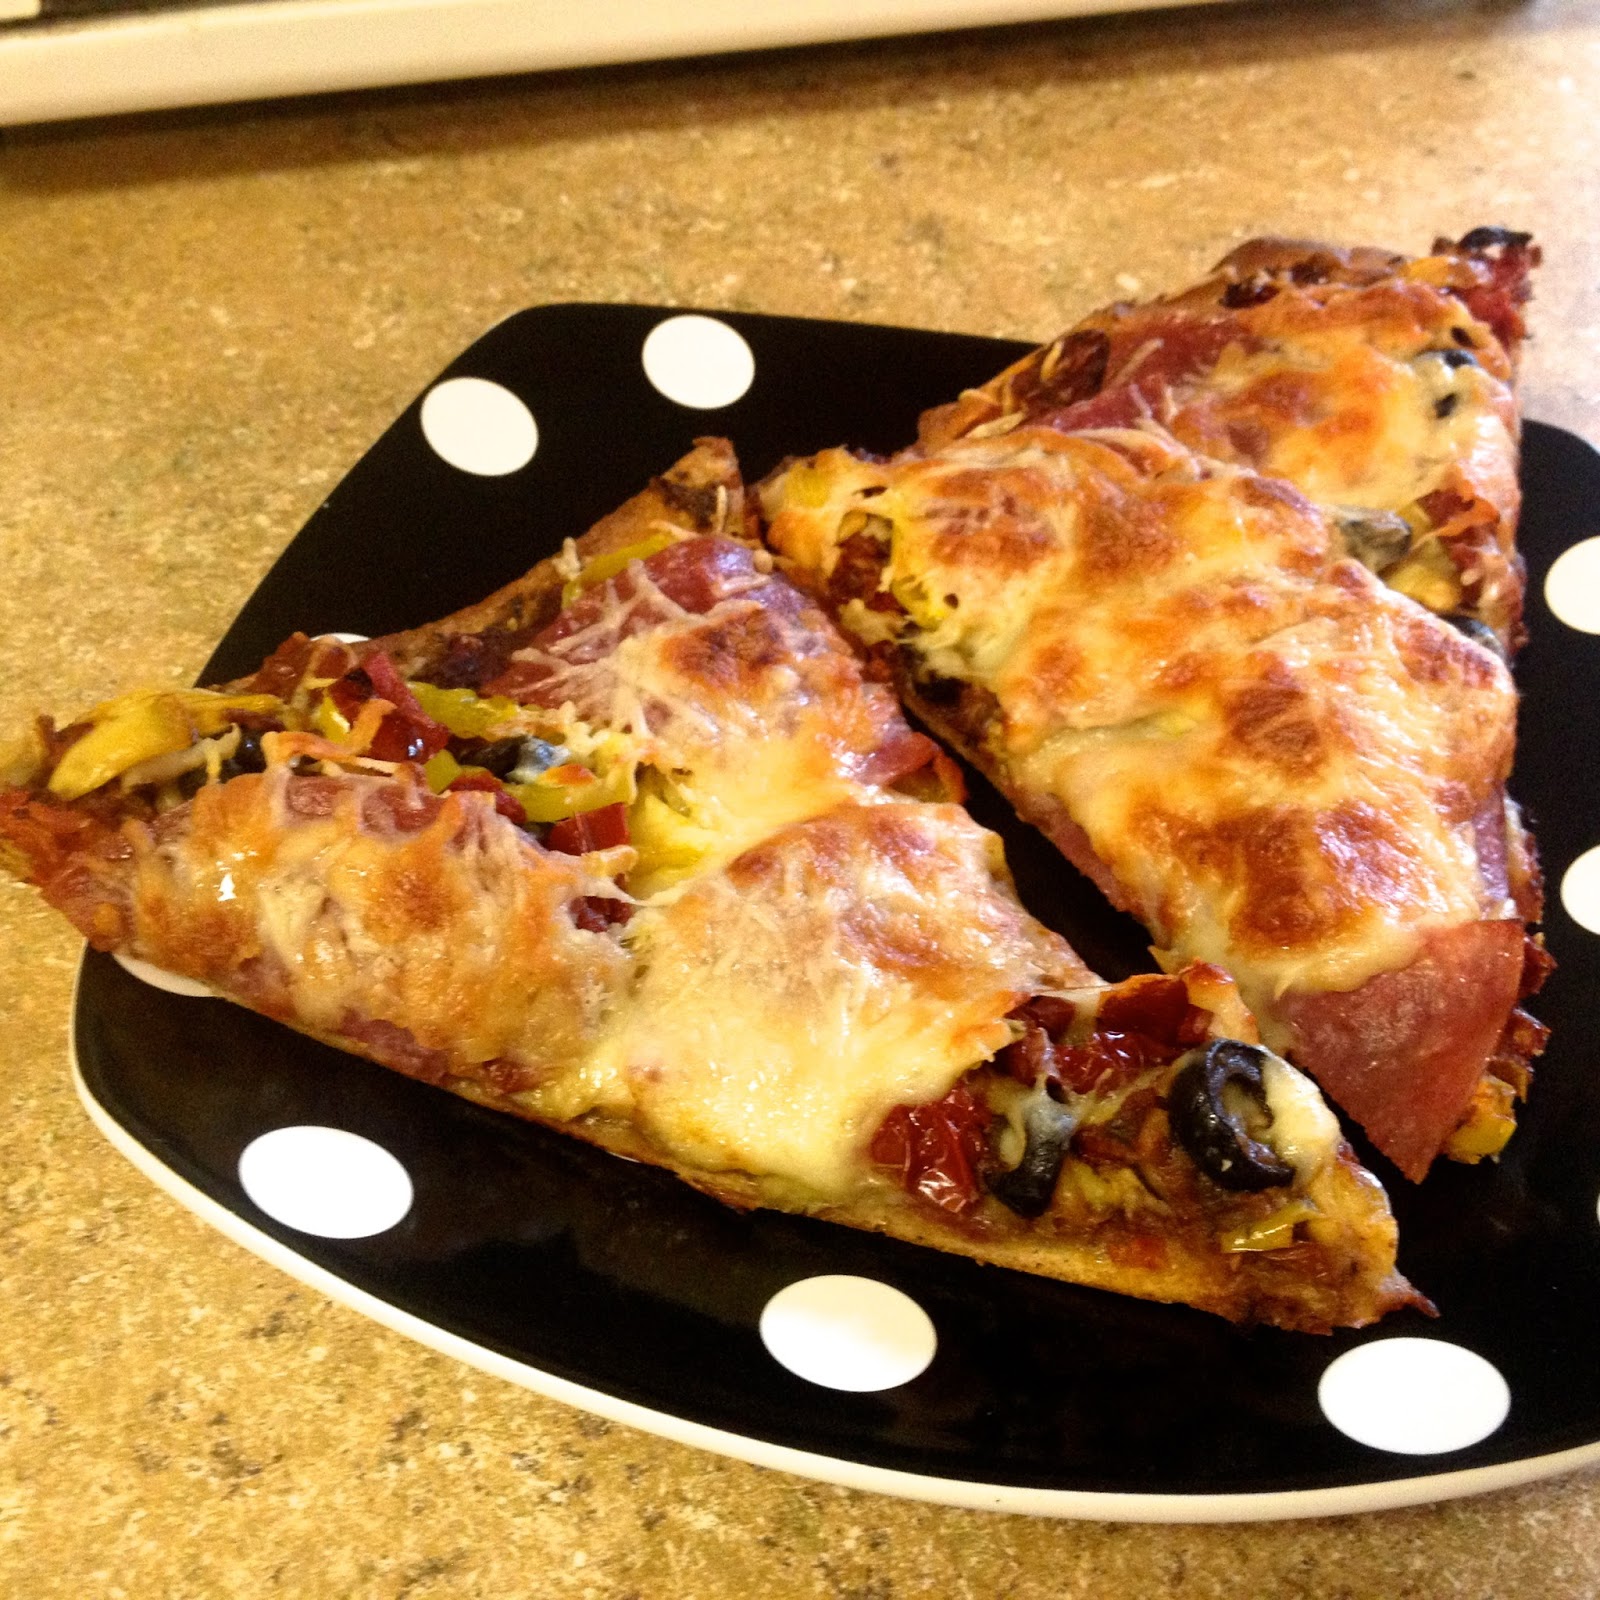
 The first thing I could say when this pizza came out of the oven was, "This pizza looks so legit." Because it did. I mean, come on...you have to admit it looks a bit like a DiGiorno at first glance. But these flavor-flaves put DiGiorno to shame. Shame, I say! Slice it, let it cool, and chow down to believe.
To make the pizza:
- Place a pizza stone in the oven and heat it to 500 degrees.
- Get your dough and other ingredients prepped in the meantime.
- Spread the roasted garlic onto the prepared pizza dough. You can do this during the next step, but the roasted garlic became a pretty thick paste after I smashed it up, so I knew that it would take a little bit of work to spread it around evenly. It was just much easier to do this without worrying about getting burned on the hot pizza stone for such intricate work here.
- When the stone is hot, place it on your work surface and place the dough on top of that. Top with the roasted garlic paste (if you haven't already), then the pesto, pizza sauce, chicken, and mozzarella - in that order.
- Place that whole gorgeous pile of pizza tastiness back into the oven and bake away for about 10 minutes. This one cooked quick for me and I took it out after about 9 minutes.